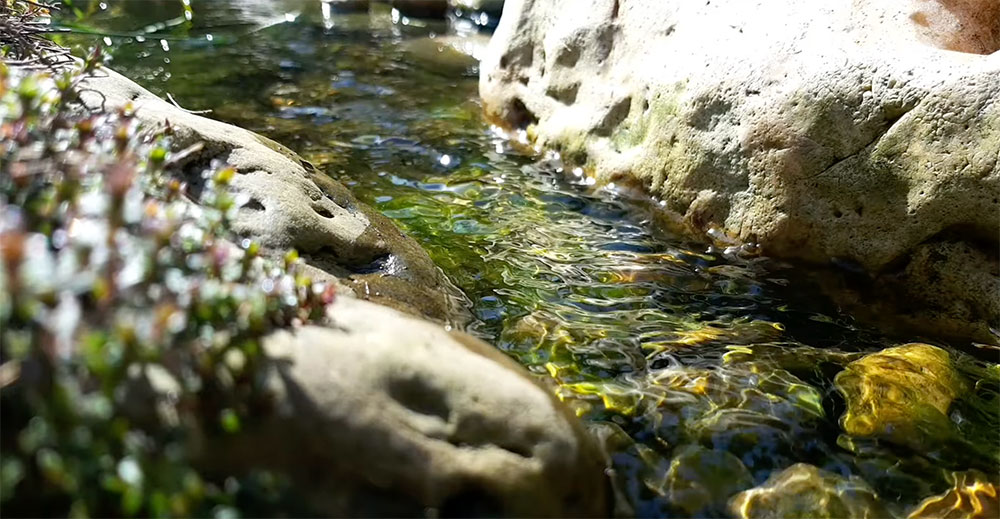
Adding a stream to your garden is one of the most relaxing and rewarding DIY projects you can take on. The gentle sound of trickling water, the shimmer of sunlight reflecting off the surface, and the sight of wildlife visiting for a drink can completely transform your outdoor space.
The best part? Building your own DIY garden stream water feature isn’t as difficult as it might seem. With the right planning and a few basic tools, even a small backyard can enjoy the beauty of running water. Whether you want a miniature stream winding through your flower beds or a longer, natural-looking watercourse ending in a pond, this guide will take you step by step through the process — from planning and digging to planting and maintenance.
Why Add a Garden Stream to Your Outdoor Space?
There’s something timeless about water in the garden. Beyond its beauty, a stream adds movement, sound, and a feeling of calm that’s hard to replicate. Even the smallest water feature can become a focal point in your outdoor space, turning an ordinary garden into a tranquil retreat.
Here are a few benefits of building your own garden stream:
- Creates a relaxing atmosphere: The sound of flowing water is soothing and can help mask background noise like traffic or neighbours.
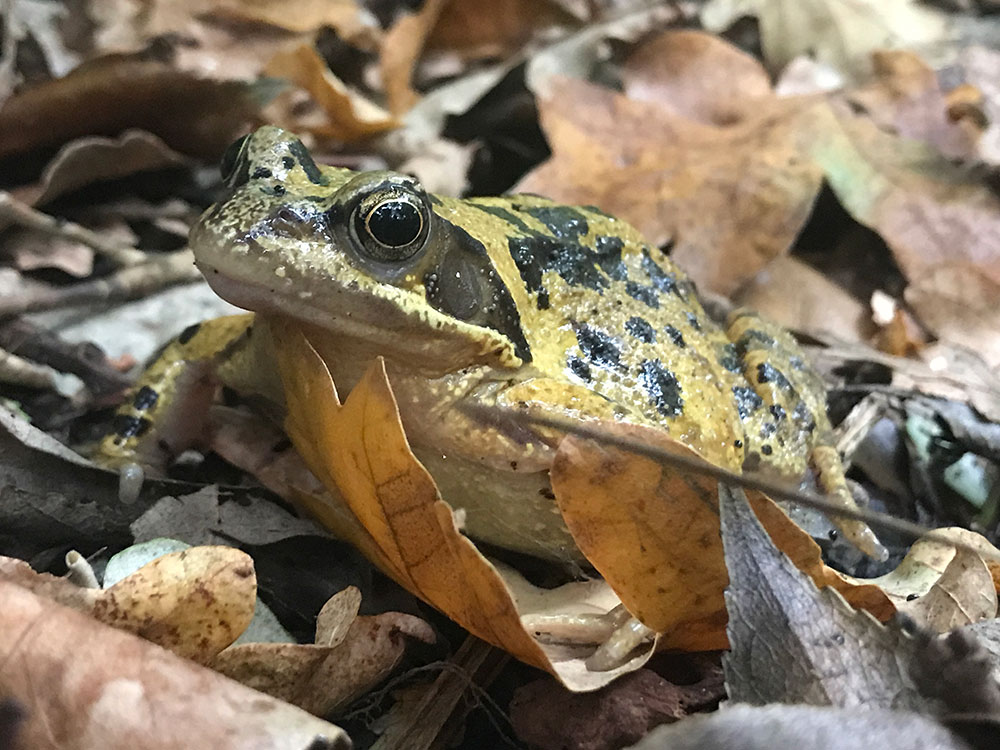
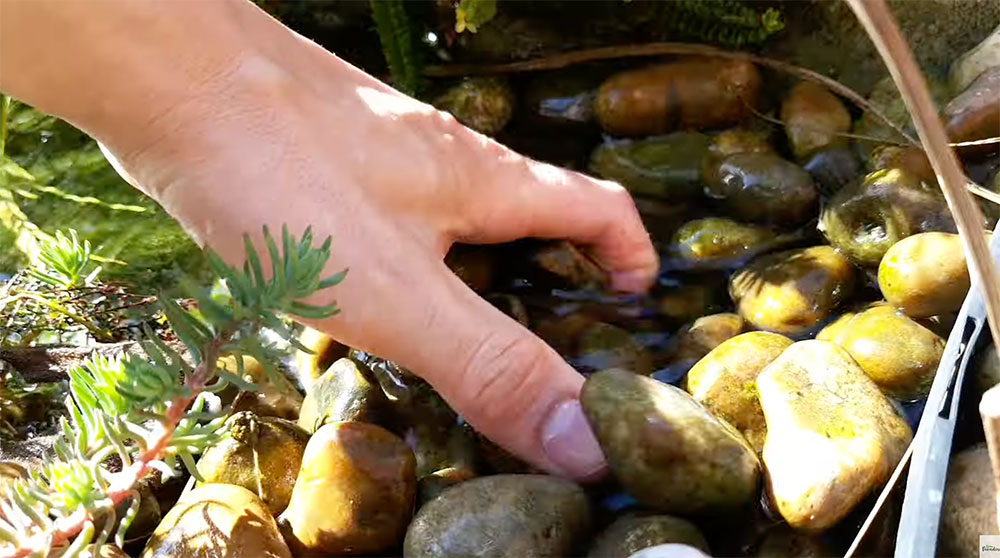
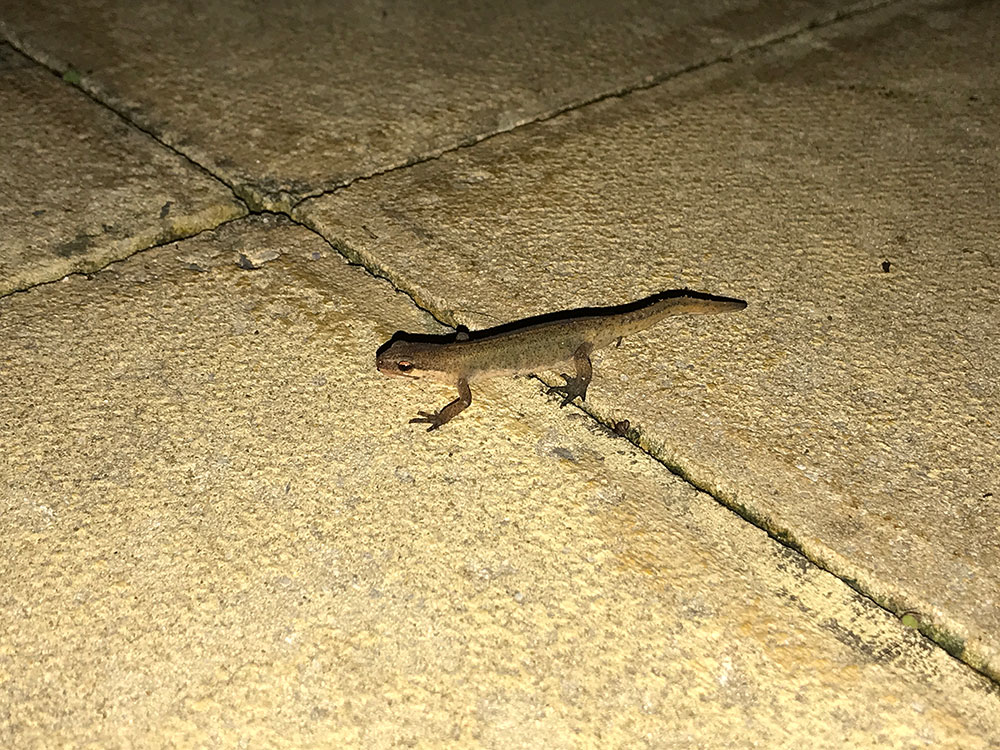
- Encourages wildlife: Birds, frogs, dragonflies, and beneficial insects are all drawn to water, bringing your garden to life.
- Adds texture and interest: The mix of rocks, plants, and moving water adds layers of visual appeal to your garden design.
- Low maintenance once built: A well-constructed stream with the right pump and filtration system is easy to maintain.
- Customisable: Whether you have a small courtyard or a large back garden, you can design your stream to fit your space perfectly.
How Much Space Do You Need for a Garden Stream?
One of the biggest myths about water features is that you need a large garden to build one. In reality, you can create a small stream in an area as compact as one square metre. At that size, it might resemble a pondless waterfall — where the water flows over rocks and disappears into an underground reservoir — but the building principles are the same.
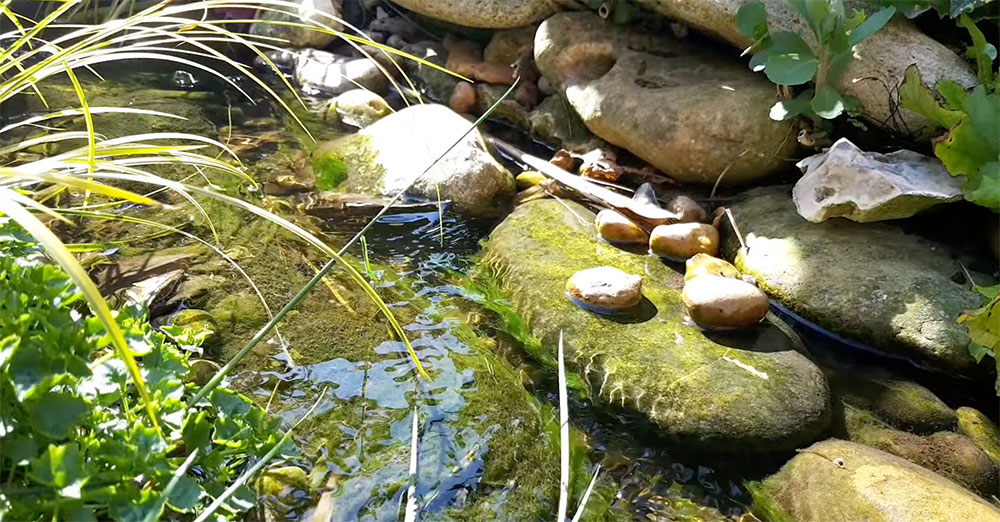
When we built our own stream, it measured about 2.5 metres long and 50 centimetres wide, and it completely changed the character of our garden. It quickly attracted birds, frogs, and insects, and added a peaceful soundtrack to our evenings outdoors.
The main thing to consider is creating a slope. Water needs a slight incline to move naturally from top to bottom, but it doesn’t have to be dramatic. Even a 5–10 cm height difference can work beautifully.
Also remember that when you line your stream with pond underlay, liner, and stones, the actual water space becomes smaller — so always dig a little larger than you think you’ll need.
What You’ll Need to Build a DIY Garden Stream
Here’s a checklist of materials and tools you’ll need for your project:
Materials:
- Pond liner
- Pond liner underlay (protective fleece or sand)
- Pond pump (with or without built-in filter or UV system)
- Flexible pond pipe (to return water from the pump to the top of the stream)
- Pipe clips or fittings
- Decorative stones, rocks, and gravel
- Expanding pond foam (for securing rocks and shaping the flow)
Tools:
- Spade or shovel
- Spirit level
- Tape measure
- Sharp scissors or Stanley knife
- Hosepipe
- Optional: wheelbarrow, buckets, gloves
Do You Need a Pump for a Garden Stream Water Feature?
Yes — unless you have a natural spring or gravity-fed system, you’ll need a pump to circulate the water. The pump moves water from the lowest point (usually a pond or hidden reservoir) back up to the top, where it can flow down again, creating the continuous motion that defines a stream.
When choosing a pump, think about the following factors:
- Flow rate (litres per hour): This determines how fast the water moves. For a gentle, babbling brook effect, a low flow rate (1,000–2,000 LPH) is fine. For a more dramatic waterfall or stronger stream, look for 3,000–6,000 LPH or higher.
- Head height: This is the vertical distance the pump must lift the water. A greater height difference requires a more powerful pump.
- Built-in filter: Pumps with filters help remove debris and keep water clear.
- UV light steriliser: If you’ve ever seen a green, algae-filled pond, you’ll understand why this is handy. A UV system keeps the water crystal clear and low-maintenance.
Choosing the right pump at the start saves time and hassle later — and ensures your water feature runs smoothly year-round.
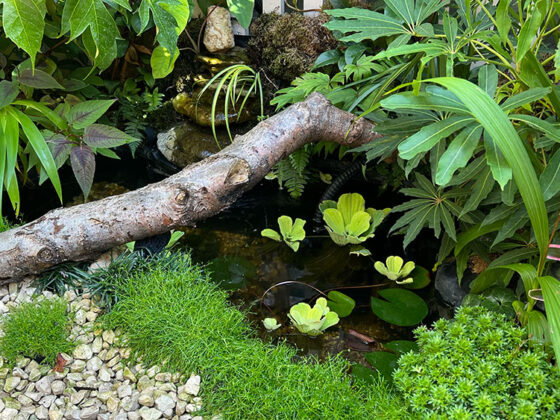
Do You Need a Pond at the End of Your Stream?
Not necessarily! You can build a pondless stream that ends in an underground water reservoir hidden beneath pebbles. This is a great option for small spaces or gardens where safety (like around children) is a concern.
However, in this guide, we’ll focus on building a stream that flows into a small pond, because it’s easier for beginners and offers more space for plants and wildlife.
If you do have room for a larger pond, it’s worth including one. More water means:
- Less topping up due to evaporation
- Better temperature stability
- A richer habitat for fish, frogs, and aquatic plants
Should Your Stream Be a Smooth Slope or a Series of Pools?
When designing your DIY garden stream, aim for a series of gentle drops or shallow pools rather than a continuous slope. This looks more natural and helps anchor rocks and plants in place.
A few small pools connected by trickling sections of water will create variety in sound and flow — some fast-moving, some calm — which not only enhances the look but also provides different microhabitats for wildlife.
Step-by-Step: How to Build a Garden Stream Water Feature
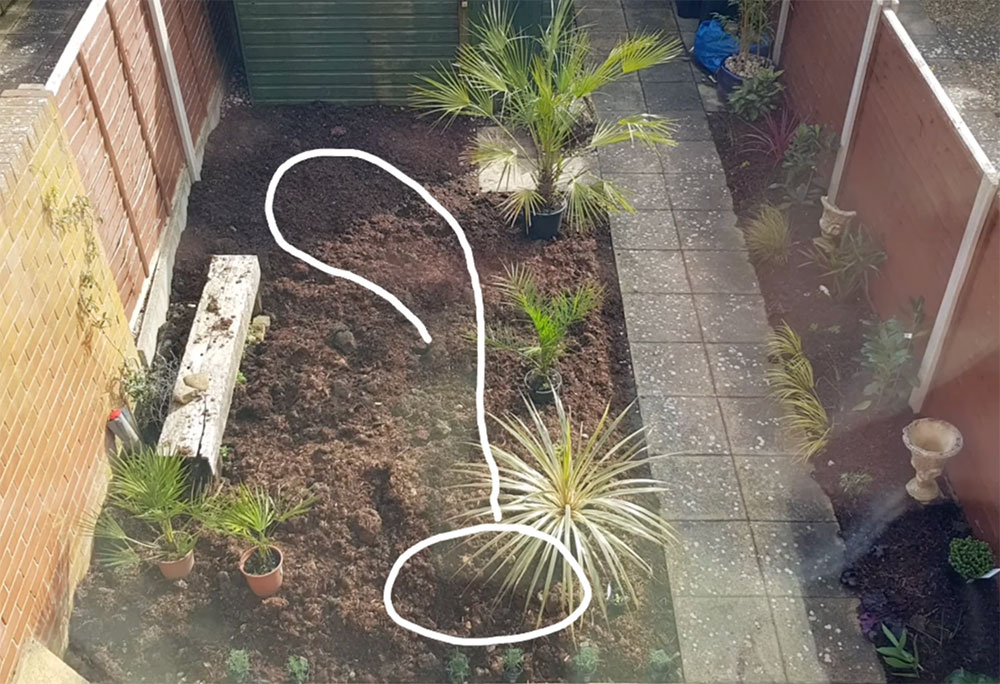
1. Mark Out the Stream Shape
Start by outlining the shape of your stream. Use a garden hose, string, or a line of sand to visualise its path. Curves tend to look more natural than straight lines. Step back and adjust until you’re happy with the layout.
2. Check Your Slope
If your garden already slopes, take advantage of it. If not, you can dig the lower end slightly deeper or mound up the soil at the top. A gentle gradient is all you need — around 2–5 cm drop per metre of length.
3. Start Digging
Use your spade to dig the stream bed. For a natural look, vary the depth slightly as you go. The top sections can be shallower, deepening gradually toward the bottom. Check your slope periodically with a spirit level.
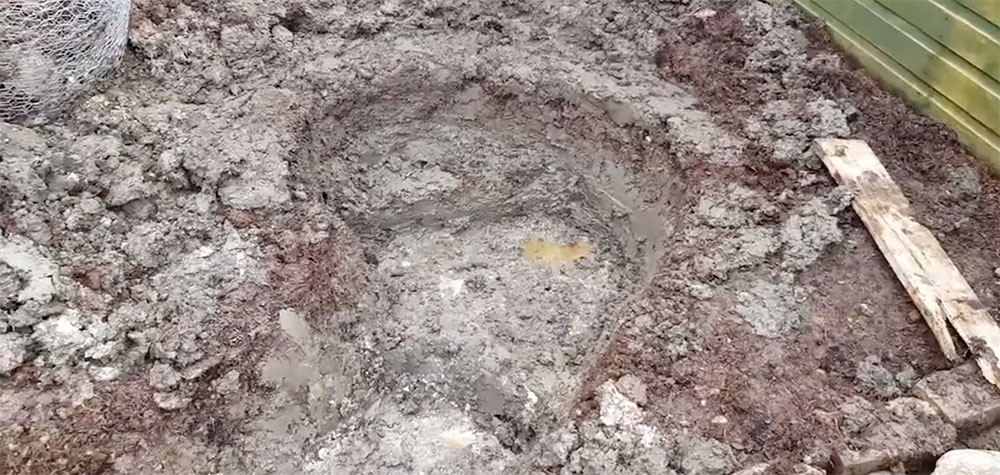
4. Remove Sharp Objects
Before laying the liner, carefully remove any sharp stones or roots that could puncture it.
5. Add Underlay
Lay down pond liner underlay or a thick layer of sand to cushion the liner and protect it from damage.
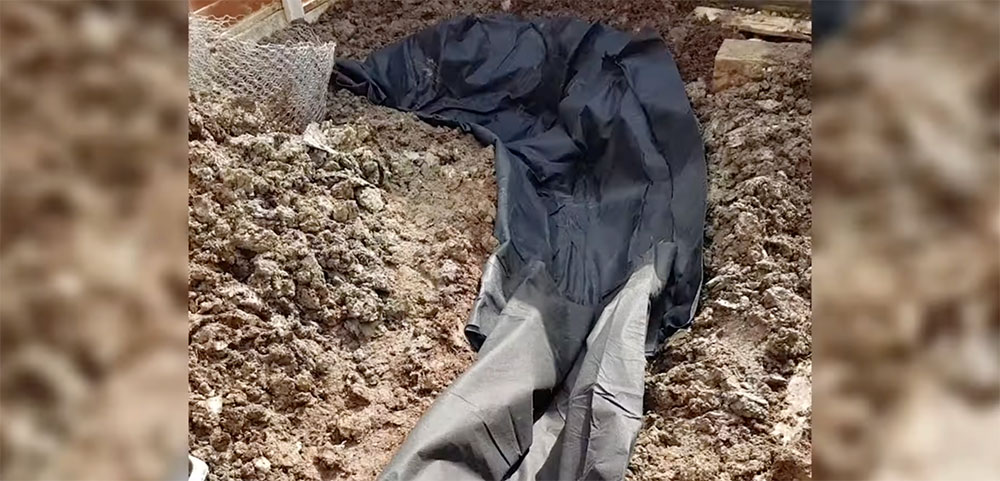
6. Add Pond Liner
Place the pond liner over the underlay, smoothing out as many folds as possible. Don’t trim the edges yet — leave plenty of overlap for adjustments once the liner settles.
7. Shape with Rocks and Foam
Instead of using concrete (which reduces water volume and can be difficult to adjust), use expanding pond foam to secure rocks and create natural-looking contours. The foam helps direct the water’s flow and holds stones firmly in place.
8. Fill with Water and Test
Position your hose at the top of the stream and slowly fill it with water. Watch how it flows. If it doesn’t move as you’d like, adjust by adding soil underneath or repositioning stones until the flow feels right.
9. Trim Excess Liner
Once you’re happy with the layout and the liner has settled, trim away any excess, leaving about 15–30 cm above the waterline.
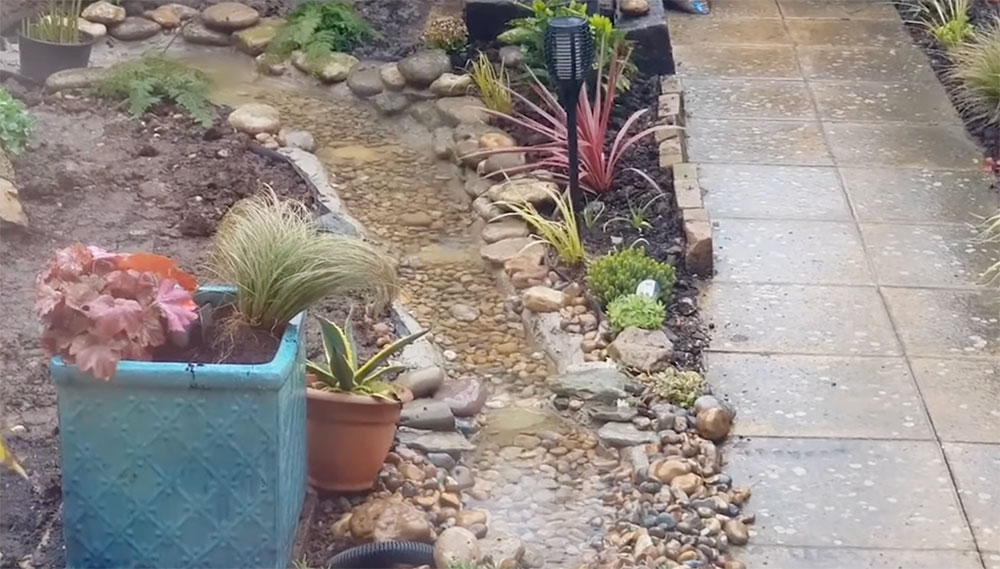
10. Hide the Edges
Use decorative stones, gravel, or plants to cover the edges of the liner. This not only hides the material but also helps blend the feature into the landscape.
11. Install the Pump
Place your pump in the bottom pond or reservoir and run the pipe to the top of your stream. You can either hide the pipe under stones or bury it just beneath the soil. Exposed pipes can also be camouflaged with plants or ornaments.
12. Test the Flow
Switch on your pump and check that water is flowing evenly. Adjust the valve (if included) to control the flow rate. Run the system for at least 24 hours to make sure there are no leaks and the water level remains stable.
13. Add Finishing Touches
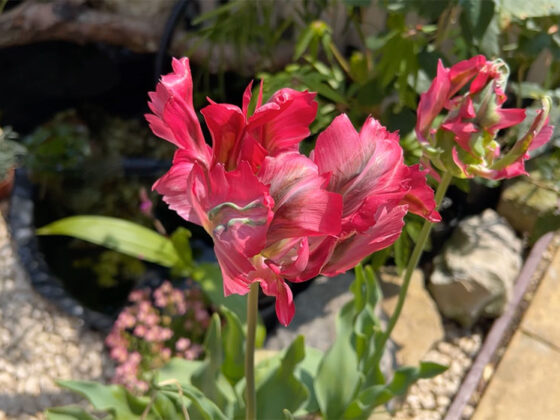
Once everything is running smoothly, it’s time to make it beautiful. Add rocks, driftwood, or stepping stones along the edge, and plant around your new feature for a natural, lush look.
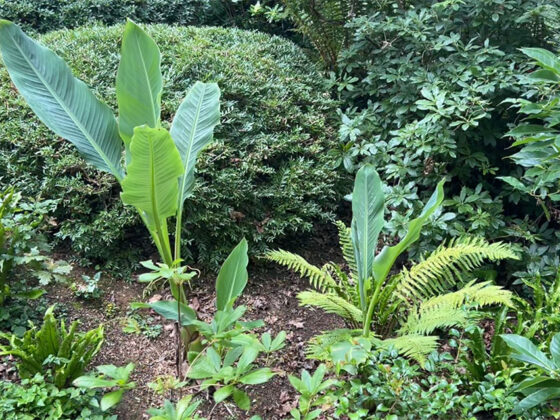
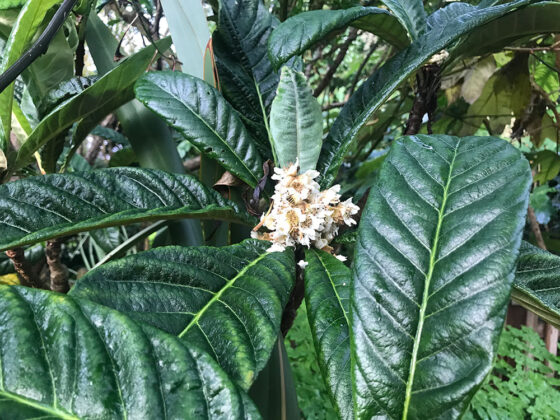
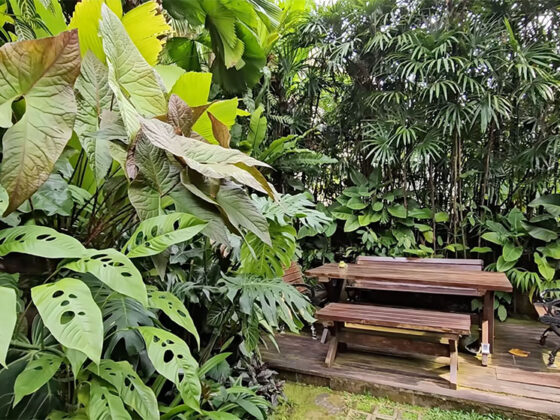
Planting Around Your Garden Water Feature
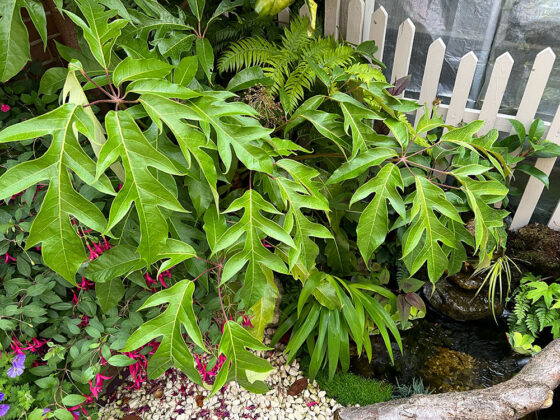
Plants soften the hard edges of rocks and help your water feature blend naturally with the rest of your garden. They also provide shelter for frogs, insects, and birds. Choose plants that enjoy moist soil or partial shade near water.
Some great options include:
- Dryopteris (Ferns) – lush and low-maintenance.
- Hakonechloa macra (Japanese forest grass) – adds movement and colour.
- Cyperus alternifolius (Umbrella plant) – perfect for damp soil.
- Zantedeschia aethiopica (Arum lily) – elegant white blooms.
- Iris pseudacorus (Yellow flag iris) – striking and wildlife-friendly.
Best Aquatic Plants for Clear, Healthy Water
Adding aquatic plants directly into your stream or pond helps balance the ecosystem. They absorb excess nutrients, which reduces algae growth, and provide oxygen for any fish you might add later.
Top choices include:
- Ceratophyllum demersum (Hornwort) – fast-growing, oxygenating plant.
- Myriophyllum spicatum (Spiked water milfoil) – great for shade and clarity.
- Ranunculus aquatilis (Water crowfoot) – delicate foliage and small white flowers.
Maintaining Your Garden Stream Water Feature
Once your stream is up and running, it doesn’t take much to keep it looking beautiful. Regular maintenance will ensure clear water and a healthy ecosystem.
Here are some simple maintenance tips:
- Clean your pump regularly. Remove leaves and debris from the intake to keep water flowing smoothly.
- Use barley straw. A natural way to control algae — simply place a small bundle in your pond or stream.
- Top up water in summer. Water naturally evaporates in warm weather, so check levels weekly and refill as needed.
- Add aquatic plants. They help filter the water and prevent green build-up.
- Monitor wildlife. Frogs, newts, and dragonflies are a sign of a healthy garden ecosystem.
Disclosure: This article contains affiliate links. If you purchase through these links, we may earn a small commission at no extra cost to you.